Watercolor painting is one of the most rewarding yet challenging mediums in the art world. Its transparent nature allows for a luminosity that few other mediums can achieve, but it also requires a certain level of control and understanding. In this comprehensive guide, we'll explore essential watercolor techniques that will help you elevate your artwork from amateur to professional.
Understanding Your Materials
Before diving into techniques, it's crucial to understand the materials you're working with:
- Paper: The foundation of any watercolor painting. Opt for 100% cotton paper with a weight of at least 140lb (300gsm). Brands like Arches, Fabriano, and Saunders Waterford are excellent choices.
- Paints: Artist-grade watercolors contain more pigment and fewer fillers than student-grade options. While more expensive, they offer superior vibrancy and mixing capabilities.
- Brushes: Invest in a few quality brushes rather than many mediocre ones. A round brush (size 8-10), a smaller round (size 2-4), and a flat wash brush are excellent starting points.
Essential Watercolor Techniques
1. Wet-on-Wet Technique
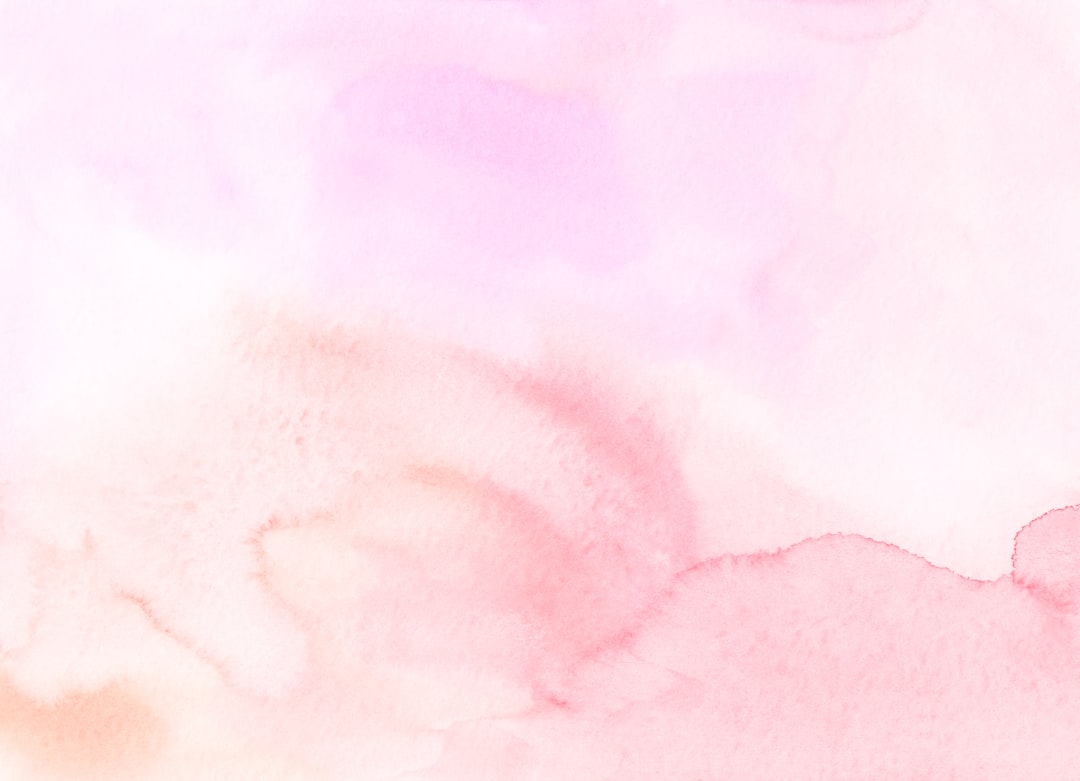
The wet-on-wet technique involves applying paint to a pre-wetted surface. This creates soft, diffused edges as the pigment flows and blends naturally across the damp paper.
To practice this technique:
- Wet your paper with clean water using a large, soft brush
- While the paper is still glistening (but not pooling with water), apply your pigment
- Watch as the colors bloom and merge, creating beautiful, organic patterns
This technique is perfect for creating atmospheric skies, soft backgrounds, and delicate floral elements.
2. Wet-on-Dry Technique
As the name suggests, wet-on-dry involves applying wet paint to dry paper. This technique gives you more control and creates defined edges.
Key points for mastering wet-on-dry:
- Ensure your paper is completely dry before applying paint
- Control the water-to-pigment ratio in your brush – more water creates lighter strokes, while more pigment creates stronger lines
- Use this technique for detailed work, strong outlines, and textural elements
3. Glazing
Glazing is the process of applying transparent layers of color, one over another, after each layer has dried completely. This builds depth and complexity in your paintings.
For successful glazing:
- Wait until each layer is completely dry before applying the next
- Use transparent pigments (check the transparency rating on your paint tubes)
- Work from light to dark, and from large areas to small details
4. Dry Brush Technique
The dry brush technique creates texture and is particularly effective for rendering rough surfaces like tree bark, rocks, or weathered wood.
To achieve this effect:
- Use a brush with minimal water – just enough to pick up the pigment
- Apply the paint with light, quick strokes across the paper's texture
- Allow the brush to skip across the surface, creating broken, textural marks
Advanced Techniques to Explore
1. Lifting and Removing Color
One of watercolor's unique attributes is the ability to lift and remove color even after it's dry. This technique is invaluable for creating highlights or correcting mistakes.
To lift color:
- Dampen a clean brush with water
- Gently scrub the area you wish to lighten
- Blot with a paper towel to remove the dissolved pigment
2. Salt Technique
Sprinkling salt on wet watercolor creates fascinating textures as the salt absorbs the pigment and water, leaving behind star-like patterns.
This technique works best when:
- The paint is still wet but not overly saturated
- You use various sizes of salt for different effects (table salt vs. kosher salt)
- You allow the paint to dry completely before brushing away the salt
3. Masking Fluid
Masking fluid (or frisket) is a liquid latex solution that protects areas of the paper you want to keep white or light-colored.
Tips for using masking fluid:
- Apply with an old brush (the fluid will ruin good brushes)
- Ensure the paper is completely dry before application
- Allow the masking fluid to dry thoroughly before painting over it
- Remove by gently rubbing with a clean finger or rubber cement pickup
Common Watercolor Challenges and Solutions
Unwanted Blooms
Blooms (or cauliflowers) occur when wet paint runs into a drying area, creating unintended patterns.
To prevent blooms:
- Work with consistent wetness across your paper
- Avoid returning to partially dry areas with wet paint
- If working wet-into-wet, maintain an even dampness
Alternatively, embrace blooms as a unique watercolor effect and incorporate them intentionally into your work!
Muddy Colors
Muddy colors typically result from over-mixing or combining too many pigments.
To maintain color vibrancy:
- Limit your palette to 3-5 colors per painting
- Allow colors to mix on the paper rather than on the palette
- Consider the color theory – complementary colors will neutralize each other
Conclusion
Mastering watercolor techniques takes practice, patience, and a willingness to embrace the unpredictable nature of this beautiful medium. Remember that what some consider "mistakes" in watercolor can often become the most interesting aspects of your painting.
Begin by practicing each technique individually, then gradually combine them in your work. Keep a journal of your experiments, noting which papers, paints, and methods yield your favorite results.
Above all, enjoy the journey. Watercolor has a magical quality that continues to captivate artists at every skill level, offering endless possibilities for creative expression.