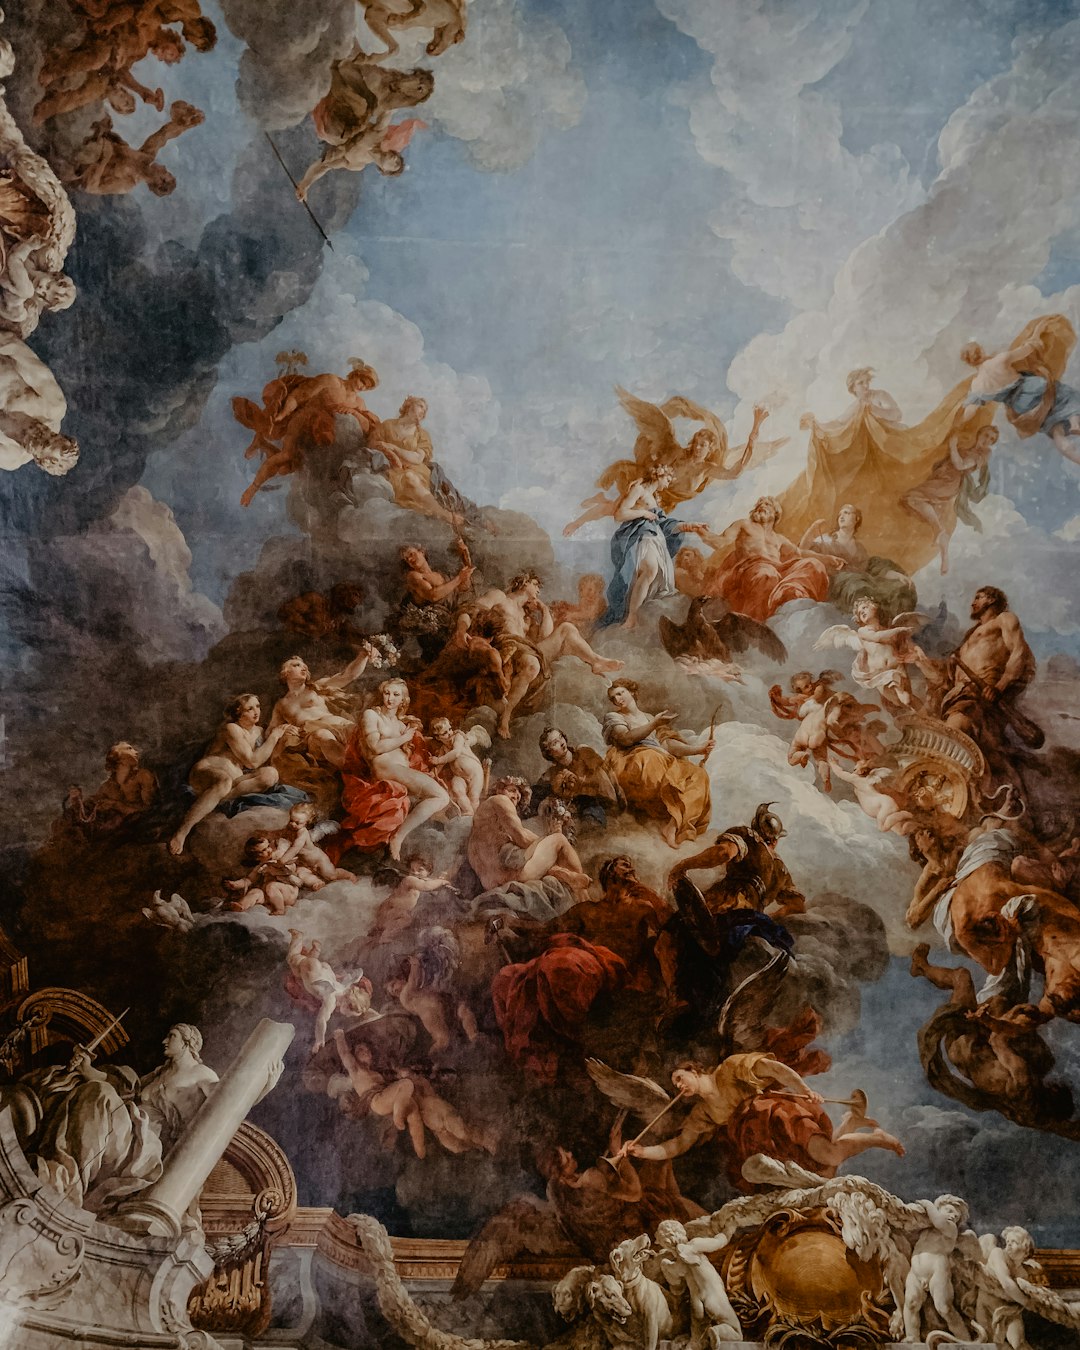
Oil painting has been the medium of choice for master artists for centuries, from Rembrandt to Picasso. The rich, vibrant colors and flexibility of oils continue to make them popular with contemporary artists. In this guide, we'll explore classical oil painting techniques that remain relevant in modern art practice, helping you bridge traditional methods with contemporary expression.
Understanding Oil Paint: The Basics
Before diving into techniques, it's essential to understand the unique properties of oil paint that distinguish it from other media:
- Slow drying time: Unlike acrylic or watercolor, oil paint can remain workable for days or even weeks, allowing for blending and reworking.
- Rich pigmentation: Oil paints typically contain higher pigment loads than other media, resulting in intense, saturated colors.
- Depth and luminosity: The refractive index of oil creates a distinctive luminosity and depth that's difficult to achieve with other media.
- Versatility: Oil paint can be applied in techniques ranging from thin, transparent glazes to thick, textural impasto.
Essential Materials for Oil Painting
Paints
For beginners, a limited palette of 8-10 colors is ideal. Consider starting with:
- Titanium White
- Ivory Black
- Cadmium Red Medium
- Alizarin Crimson
- Cadmium Yellow Medium
- Yellow Ochre
- Ultramarine Blue
- Phthalo Blue
- Burnt Sienna
- Burnt Umber
Brushes
Quality brushes make a significant difference in oil painting. Include a variety of shapes and sizes:
- Filbert brushes (sizes 2, 4, 8): Versatile for both detail and broader strokes
- Round brushes (sizes 0, 2, 6): Excellent for detail work and fine lines
- Flat brushes (sizes 4, 8, 12): Ideal for blocking in large areas and creating sharp edges
- Fan brush: Useful for blending and creating textural effects
- 1-2" wash brush: For priming and large background areas
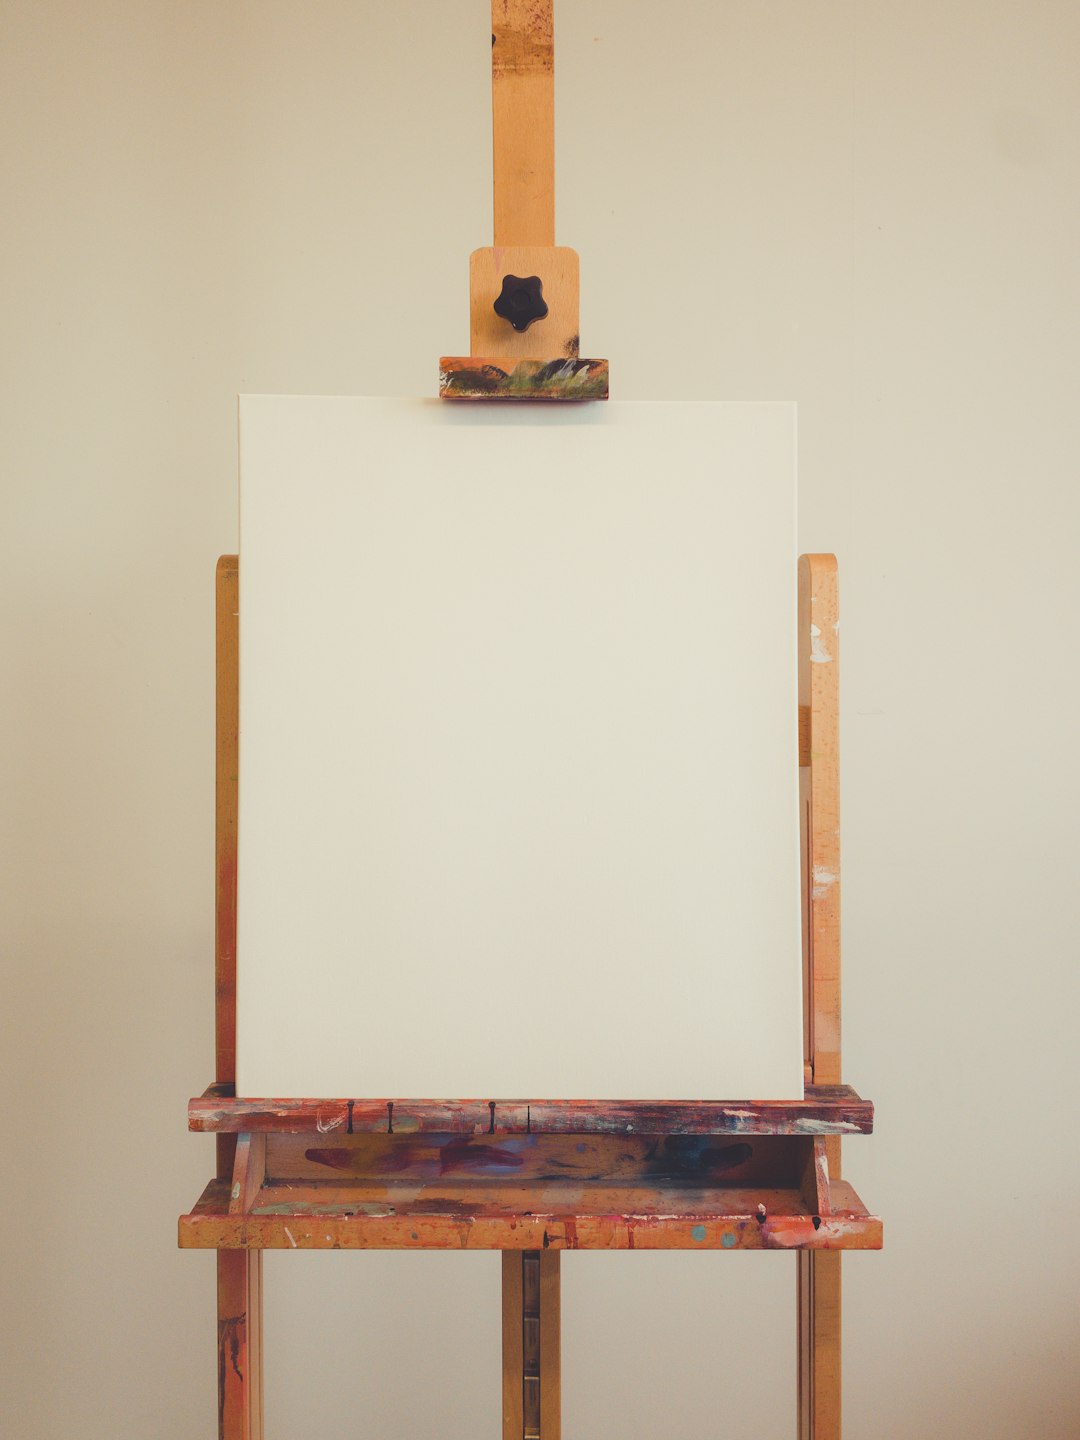
Supports
Traditional oil painting supports include:
- Canvas: Available pre-stretched or as canvas boards. Look for properly primed surfaces.
- Wood panels: Offer a smooth, stable surface ideal for detailed work.
- Linen: Higher quality than cotton canvas, with a finer weave and greater durability.
Mediums and Solvents
These modify the properties of oil paint:
- Linseed oil: Increases flow and transparency, slows drying time
- Alkyd medium: Speeds drying time, improves flow
- Odorless mineral spirits: Thins paint and cleans brushes
- Liquin: Popular contemporary medium that improves flow and speeds drying
Classical Oil Painting Techniques
1. Underpainting
An underpainting establishes the composition, values, and often the color harmony of a painting before applying the final layers. This technique dates back to the Renaissance and remains foundational to oil painting.
Types of Underpaintings:
- Grisaille: A monochromatic underpainting, typically in gray or brown tones, that establishes values.
- Verdaccio: A greenish-gray underpainting traditionally used for portraits and figures.
- Imprimatura: A transparent toned ground that influences the overall color harmony.
Modern application: Contemporary artists often use underpaintings to create unexpected color interactions or to allow portions to show through in the final work, creating visual complexity.
2. Alla Prima (Direct Painting)
Alla prima, meaning "at first attempt," involves completing a painting in one session while the paint is still wet. This technique gained popularity in the 19th century with the Impressionists and continues to be widely used today.
Key aspects of alla prima painting:
- Working from general to specific, blocking in large shapes first
- Mixing colors on the palette rather than glazing
- Creating soft transitions by blending wet-into-wet
- Working decisively with confident brushstrokes
Modern application: Alla prima is ideal for capturing fleeting light conditions, expressing spontaneity, and creating works with visible brushwork and energy.
3. Glazing
Glazing involves applying thin, transparent layers of paint over dried layers beneath. This technique was mastered by Old Masters like Rembrandt and Vermeer to create luminosity and depth.
To create effective glazes:
- Allow underlying layers to dry completely
- Mix paint with a glazing medium (traditionally linseed oil, though modern mediums like Liquin also work well)
- Apply in thin, even layers using a soft brush
- Build up multiple glazes gradually for depth
Modern application: Contemporary artists use glazing to create rich, complex colors, subtle transitions, and atmospheric effects in both representational and abstract work.
4. Impasto
Impasto involves applying paint in thick, textural strokes that stand out from the surface. This technique, prominent in the work of artists like Van Gogh and Rembrandt, creates dynamic surface texture and can express powerful emotion.
To achieve effective impasto:
- Use stiff brushes or palette knives
- Work with paint straight from the tube or slightly thickened with cold wax medium
- Apply paint in deliberate, expressive strokes
- Allow for significant drying time between sessions
Modern application: Contemporary artists use impasto to create three-dimensional effects, capture light in unique ways, and add expressive energy to their work.
5. Scumbling
Scumbling involves applying a thin layer of opaque or semi-opaque paint over a dried darker layer, allowing the underlying color to show through. This creates a soft, hazy effect.
To scumble effectively:
- Work with a relatively dry brush
- Use light, opaque colors over darker backgrounds
- Apply with a circular or irregular brushing motion
- Build up gradually for a natural effect
Modern application: Scumbling creates atmospheric effects, softens transitions, and can suggest environmental conditions like fog, mist, or atmospheric perspective.
6. Sfumato
Sfumato, Italian for "vanished like smoke," is a technique perfected by Leonardo da Vinci that creates imperceptible transitions between colors and tones. It's particularly effective for creating realistic skin tones and soft atmospheric effects.
To achieve sfumato:
- Work with thinned paint or glazes
- Blend edges with a soft brush or fingertip
- Build up multiple translucent layers
- Focus on gradual, almost imperceptible transitions
Modern application: Contemporary portrait artists use sfumato to create realistic flesh tones and soft transitions, while landscape artists apply it for atmospheric perspective.
Integrating Classical Techniques in Contemporary Practice
Combining Techniques for Expressive Effect
Many contemporary artists blend multiple classical techniques within a single work for dynamic results:
- Juxtaposing smooth, glazed areas with textural impasto creates compelling visual contrast
- Using alla prima for focal points against glazed backgrounds creates natural emphasis
- Incorporating scumbling or sfumato in selected areas adds atmospheric depth
Contemporary Materials with Classical Techniques
Modern oil painting materials offer new possibilities for classical techniques:
- Water-mixable oils: Offer traditional oil properties with easier cleanup and reduced toxicity
- Alkyd mediums: Speed drying time, allowing for faster layering and glazing
- Cold wax medium: Creates matte surfaces and can be used for unique textural effects
- Modern supports: Aluminum panels, polyester canvas, and other contemporary surfaces offer new working properties
Non-Traditional Applications
Contemporary artists often apply classical techniques to non-traditional subjects or in innovative ways:
- Using glazing techniques in abstract expressionist work
- Applying impasto to create three-dimensional elements in mixed media pieces
- Combining digital underpaintings with traditional oil techniques
- Using classical techniques to depict contemporary urban scenes or technology
Practical Workshop: A Layered Approach to Oil Painting
Here's a step-by-step approach that integrates several classical techniques into a cohesive process suitable for contemporary painting:
Step 1: Surface Preparation
Begin with a properly primed canvas or panel. For added tonal foundation, consider an imprimatura:
- Thin burnt sienna or raw umber with odorless mineral spirits
- Apply a thin, even wash over the entire surface
- Wipe back highlights with a cloth if desired
- Allow to dry completely (usually 1-2 days)
Step 2: Compositional Drawing
Establish your composition with a thin wash of paint:
- Use burnt umber thinned with medium
- Focus on accurate proportions and placement
- Keep lines thin and precise
- Allow to dry (12-24 hours)
Step 3: Value Underpainting
Create a monochromatic underpainting to establish values:
- Mix white with your drawing color to create a range of values
- Block in the major light and shadow areas
- Focus on creating a full range of values from light to dark
- Allow to dry (1-3 days depending on thickness)
Step 4: Color Block-In
Establish the basic color relationships with thin, semi-transparent paint:
- Mix colors with medium for improved flow
- Focus on accurate color relationships rather than detail
- Allow the underpainting to influence the color layer
- Allow to dry (2-3 days)
Step 5: Developing Form with Glazes and Scumbling
Build depth and luminosity:
- Apply transparent glazes to deepen shadows and enrich colors
- Use scumbling to soften transitions and create atmospheric effects
- Focus on creating depth and dimensionality
- Allow each glaze layer to dry before applying the next
Step 6: Final Details and Highlights
Complete the painting with targeted detail work:
- Add crisp details in focal areas with alla prima technique
- Apply highlights with thicker paint, potentially using impasto for emphasis
- Make subtle adjustments with final glazes if needed
- Sign when completely dry (often 1-2 weeks)
Health and Safety Considerations
While exploring classical oil techniques, it's important to practice safe studio habits:
- Work in a well-ventilated space
- Consider using odorless mineral spirits or water-mixable oils to reduce exposure to solvents
- Dispose of solvent-soaked rags properly to prevent spontaneous combustion
- Wear gloves when handling solvents or pigments containing heavy metals
- Never use solvents near open flames or heat sources
Conclusion
Classical oil painting techniques have endured for centuries because of their effectiveness in creating works of remarkable beauty and depth. By understanding and incorporating these time-tested methods into your contemporary practice, you can access a rich tradition while expressing your unique artistic vision.
The true power of classical techniques lies not in rigid adherence to tradition, but in understanding the principles behind them and adapting them to serve your artistic goals. Whether you're creating representational works in the traditional manner or incorporating classical techniques into abstract or experimental pieces, these methods offer a solid foundation for artistic expression.
As you explore these techniques, remember that mastery comes through patient practice and observation. Each layer of a painting is an opportunity to learn and refine your approach. Over time, these classical methods will become intuitive tools in your artistic vocabulary, allowing you to express your unique vision with greater depth and nuance.